Beginner’s Guide to Doing Your Brows Perfectly
Welcome to the world of eyebrow grooming, where a little tweak can make a massive difference in framing your face and accentuating your features.
Whether you’re a beginner or someone looking to refine your technique, mastering your brow game can elevate your look from basic to fabulous. Today, we’ll walk you through the essentials of perfecting your brows, ensuring you achieve that flawless arch every time.
Understanding the Basics
Before diving into the techniques, it’s crucial to understand the anatomy of your eyebrows and what suits your face shape.
Face Shape and Brow Shape
- Oval Face: A soft, natural arch works best.
- Round Face: A higher arch can help elongate your appearance.
- Long Face: Extend the tails of your brows east to west to balance facial features.
- Square Face: Go for a thicker, more defined brow shape to complement the jawline.
Tools of the Trade
Equip yourself with the right tools for the job. You’ll need:
- A good pair of tweezers
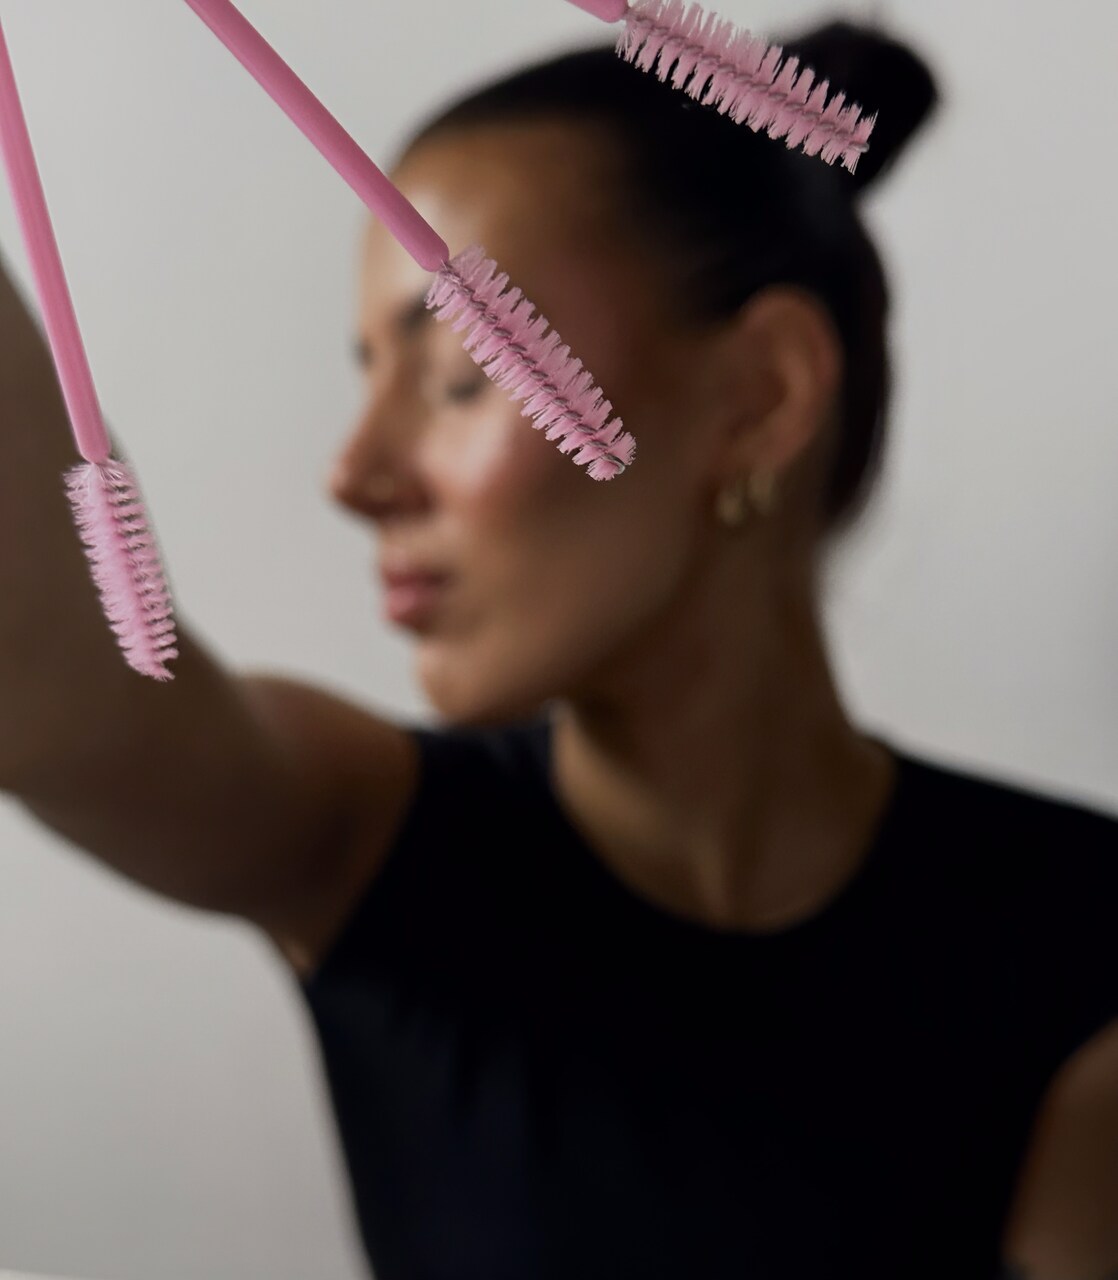
- A spoolie brush
- Brow scissors
- Brow pencil, powder, or gel
- Highlighter (optional)
- Clear brow gel (optional for setting)
Step-by-Step Guide to Perfect Brows
Step 1: Find Your Shape
Use the “pencil rule” to determine where your brows should start, arch, and end. Align a pencil vertically at the side of your nostril to find where your brow should begin. Angle it through your pupil to discover the ideal arch point, and then swing it to the outer corner of your eye to see where it should taper off.
Step 2: Clean Up
Using your tweezers, pluck away stray hairs outside your desired brow shape. Remember, it’s about cleaning up the brow area rather than thinning the brows themselves.
Step 3: Trim if Necessary
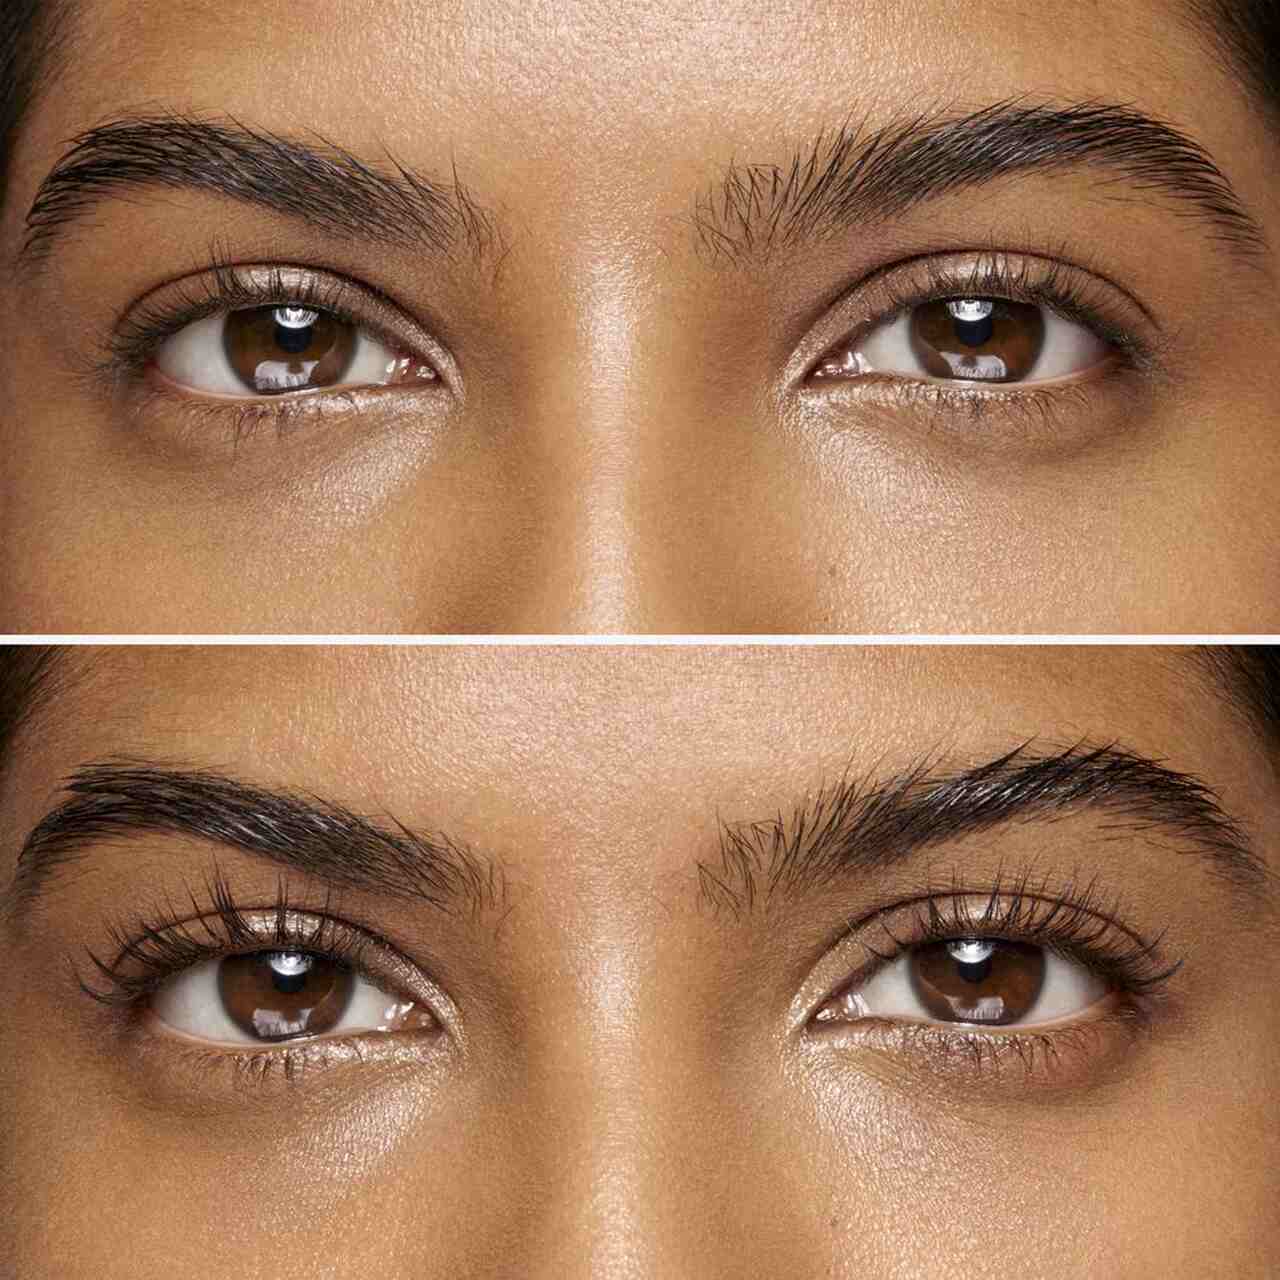
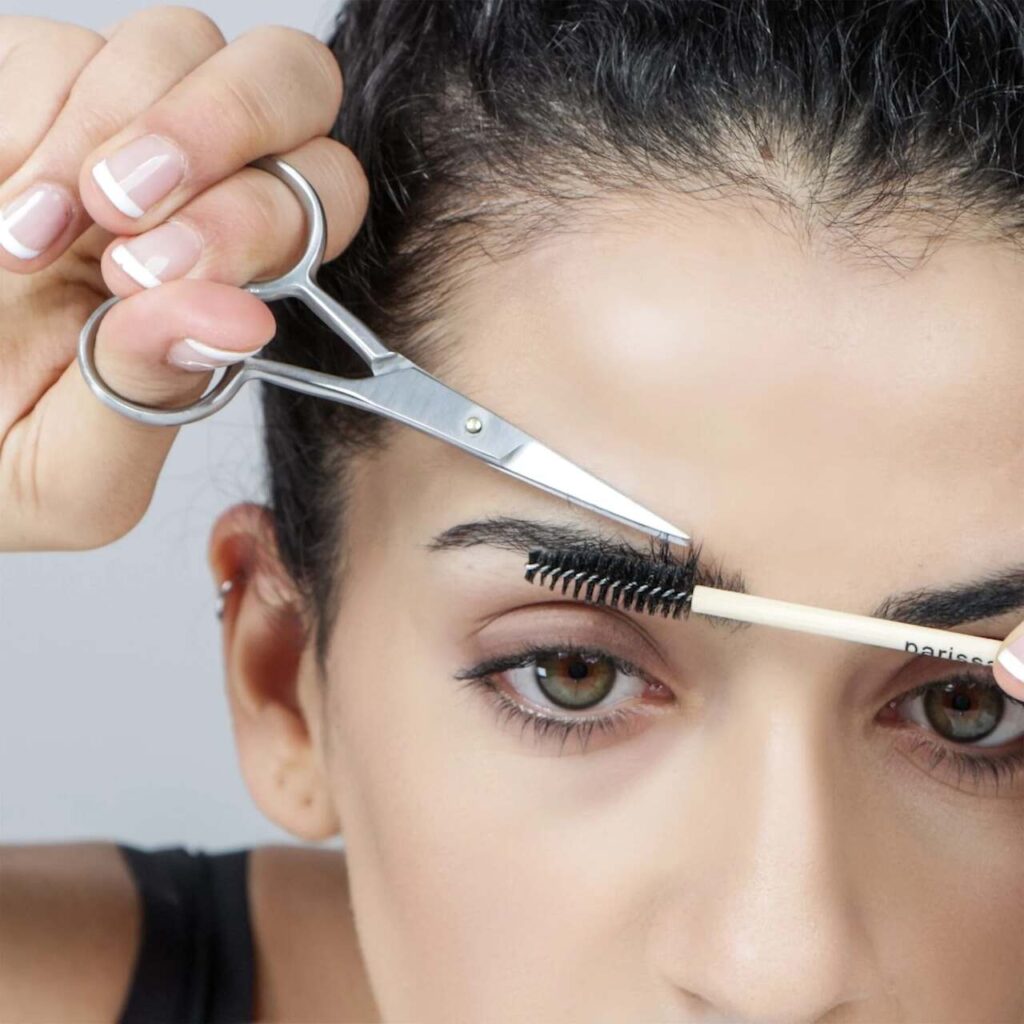
Comb your brows upward with a spoolie, and trim only the longest hairs, one hair at a time, following the shape of your brow. This helps in maintaining a neat, even look without over-thinning.
Step 4: Fill in the Gaps
Choose a brow product that closely matches your hair color. Fill in sparse areas with light, feathered strokes to keep them looking natural. If using a pencil, make sure it’s well-sharpened for precision. A powder applied with an angled brush can also give a soft, diffused look.
Step 5: Define and Highlight
For a defined look, you can outline your brows with a concealer that’s one shade lighter than your skin tone. Blend it well. Highlighting just below the brow at the brow bone can add a lift to your entire eye area.
Step 6: Set Your Brows
A clear or tinted brow gel can help keep your hairs in place all day, giving you a polished, long-lasting finish.

Conclusion
Mastering your brows is a game-changer in beauty routines. It’s not just about looking good, but also about feeling confident and empowered with your appearance. Remember to practice the techniques discussed, and don’t be afraid to experiment with different shapes and products until you find what works best for you. Happy grooming!
By understanding the basics and following a step-by-step guide, you can achieve professional-level brows from the comfort of your home. Remember, practice makes perfect, so keep refining your technique to keep your brow game strong!

